 Save
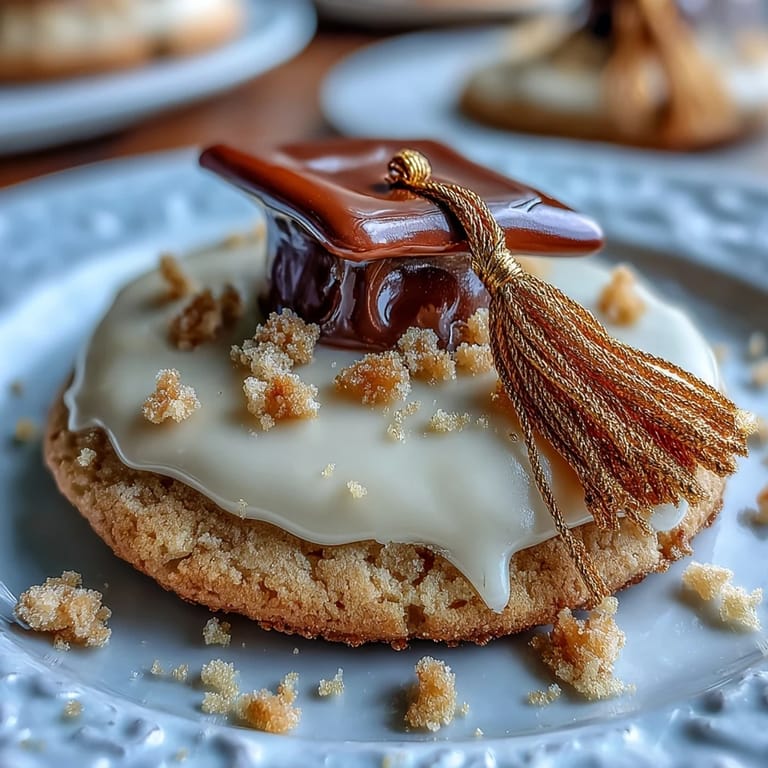
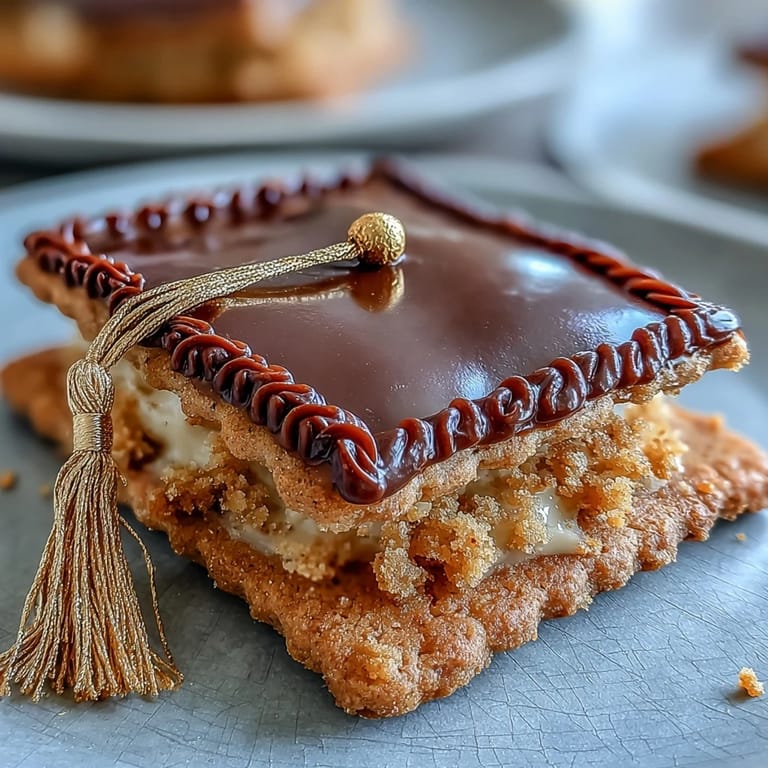
Save The clatter of cookie cutters and the sweet puff of vanilla are the soundtrack to many of my kitchen adventures, but nothing sparks more excitement than baking up a batch of graduation cookies. Last spring, sunlight poured onto floured countertops as I rolled dough into graduation caps and crisp little diplomas, each one a tiny celebration. The moment the aroma of buttery sugar cookies hit the air, the whole house knew there was something special happening. What sets these cookies apart is the joy that comes from painting gold tassels and looping icing ribbons, each cookie as unique as the graduate it's meant for. There's a steady sort of pride that comes with producing treats worthy of a cap toss and applause.
I still remember the sparkle in my friend's eyes when she spotted her initials traced in gold on a cookie diploma at her celebration. Rolling up my sleeves that morning, I was half-afraid I'd botch the tiny details, but laughter and music drifting in from the living room made even my wobbly lines feel festive. By dessert, the platter was empty but the photos and crumbs told the story well enough.
Ingredients
- All-purpose flour: The backbone of a good sugar cookie; measure with care and fluff first for tender results.
- Unsalted butter: Room temperature is key for creaming and lets each cookie hold its shape—don’t skip the softening.
- Granulated sugar: Not only sweetens the dough, but also helps achieve that lightly golden edge and delicate crunch.
- Large egg: Brings richness and binds the dough so your cookies don't crack around the edges.
- Pure vanilla extract: Rounds out the flavor and smells like a bakery in your kitchen—worth splurging for real vanilla.
- Almond extract (optional): Adds a bakery-style aroma but a little goes a long way—sub with lemon if you’re feeling zesty.
- Salt: Just enough to balance the sweetness and perk up every bite.
- Powdered sugar: Creates smooth, glossy royal icing; always sift to avoid pesky lumps.
- Egg whites or meringue powder: Whip up sturdy icing—meringue powder is a handy swap if raw egg is a no-go.
- Cream of tartar: Don’t skip this—stops the icing from weeping or getting grainy.
- Black gel food coloring: A little dab goes a long way for bold, cap-worthy color.
- Gold edible luster dust + clear alcohol or lemon extract: The gold touch for ribbons and tassels, and the key to wow-factor finish.
Tired of Takeout? 🥡
Get 10 meals you can make faster than delivery arrives. Seriously.
One email. No spam. Unsubscribe anytime.
Instructions
- Cream and combine:
- Beat butter and sugar until fluffy and pale—pause to smell, it's worth it. Add the egg and extracts, blending until smooth and creamy.
- Bring dough together:
- Gently add flour and salt, watching for the moment the dough just starts to pull away from the bowl.
- Chill and prepare:
- Divide and flatten dough discs, wrap, and chill to make rolling so much easier—your patience here keeps cookies from spreading later.
- Roll and cut shapes:
- On a lightly floured counter, roll dough to 1/4-inch and press cookie cutters for perfect diplomas and cap outlines.
- Bake and cool:
- Arrange shapes on parchment-lined trays and bake until the edges are just barely gold—let them finish on wire racks so they stay crisp.
- Mix royal icing:
- Whip egg whites (or meringue powder) with powdered sugar and cream of tartar to stiff peaks, then stir in vanilla for a faint floral accent.
- Color and ready icing:
- Tint some icing black for caps, leave some white for diplomas, and keep some separate for gold—start with a little color and build up.
- Ice cookies:
- Pipe outlines first, then flood with thinned icing; let set before adding extra details for sharp, clean lines.
- Brush on gold:
- Mix luster dust with alcohol or lemon extract and delicately paint highlights for shimmering, celebratory touches.
- Dry and serve:
- Let cookies dry completely—an hour at minimum—so every detail stays put for the big moment.
 Save
Save There was an afternoon when my kitchen table was ringed by friends, each decorating cookies for their kids and swapping stories about graduation gowns that didn’t quite fit. That sense of teamwork—paired with a little edible shimmer—turned a regular Sunday into something worth remembering.
Making It Your Own: Decoration Swaps
The real fun begins when you turn each cookie into a mini canvas. Pastel-tinted icing, candy pearls, or even edible markers let everyone customize their edible diplomas for a personal touch at any party.
Helpful Timing Tips
If you're tempted to decorate all at once, keep in mind that allowing each icing layer to dry really makes the colors pop and keeps details crisp. I usually keep a fan nearby to help speed things up on busy days.
Troubleshooting and Last-Minute Tricks
Sometimes humidity or even a warm kitchen can throw royal icing for a loop but don't panic—slightly more powdered sugar can rescue runny icing and a dry brush can soften up lines that went astray. No two batches look exactly alike and that's half the charm.
- Test icing consistency with a spoon; it should slowly run off but hold its shape.
- If cookies brown too fast, check oven temperature with an independent thermometer.
- Keep luster dust away from water, or it may clump and lose its sparkle.
 Save
Save Sharing these cookies goes beyond just dessert—it's handing out little gold stars for someone’s big moment. Celebrate, savor, and don’t be afraid to make a bit of mess along the way.
Questions & Answers
- → How do I prevent the cookies from spreading?
Chill the shaped dough for at least 45 minutes before baking, avoid overworking the dough, roll to an even 1/4-inch thickness, and bake on parchment at 350°F (175°C) until edges are just golden.
- → How do I get smooth, flooded icing surfaces?
Pipe a slightly thicker outline first to create a dam, then thin the flooded portion to a runny but controllable consistency. Use a toothpick to coax icing into corners and to remove air bubbles, then let set undisturbed.
- → Can I use meringue powder instead of fresh egg whites?
Yes. Substitute 4 tablespoons meringue powder plus 6 tablespoons water for the two egg whites called for in royal icing to achieve a stable, stiffer icing that holds details well.
- → What’s the best way to apply the gold accents?
Mix edible gold luster dust with a few drops of clear alcohol or lemon extract to create a paint, then use a fine food-safe brush to add highlights to tassels and ribbon. Allow the painted areas to dry completely before handling.
- → How should I store finished cookies and how long do they keep?
Store fully dried cookies in an airtight container at room temperature for up to 1 week. Layer with parchment to protect decorations. Baked, undecorated cookies can be made ahead and decorated later.
- → Any simple flavor or decorating variations?
Swap almond extract for lemon for a brighter note, tint additional icing colors for more details, or use sprinkles sparingly. For cleaner edges, trim stray bits with a small knife after a full dry time.