Save
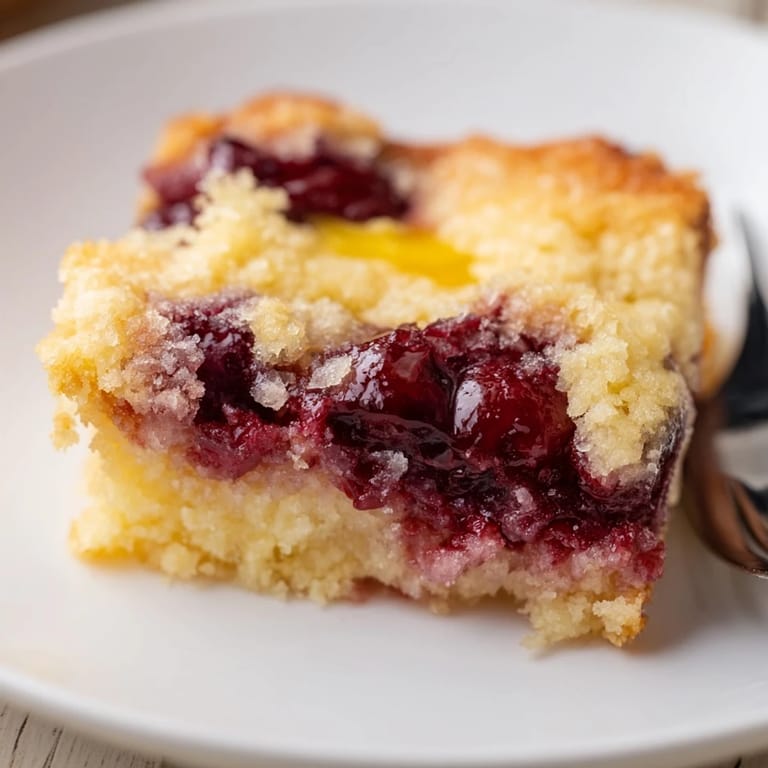
Save The first time I made a dump cake was out of pure desperation on a Thursday night when unexpected guests called saying they'd swing by in an hour. I had no time for anything complicated, but I had a can of cherry pie filling in the pantry and a box of cake mix gathering dust in the cabinet. My mom had mentioned this recipe years ago as something "even I couldn't mess up," which felt like a challenge. Thirty minutes later, golden-brown magic was pulling from the oven, and I learned that sometimes the simplest recipes deliver the biggest smiles.
I've made this at least a dozen times since that first night, but the memory that sticks is bringing it to a neighborhood potluck on the Fourth of July. I showed up with it still warm, the butter on top catching the afternoon light, and three people asked me for the recipe before they'd even finished their first bite. That's when I realized dump cake isn't humble at all—it's just honest, and people respect that.
Ingredients
- Fruit pie filling (two 21 oz cans): The backbone of everything; cherry and blueberry are classics, but apple with a cinnamon cake mix tastes like autumn in a dish.
- Yellow or white cake mix (one 15.25 oz box): Use the dry mix exactly as it comes—no water, no oil, no eggs—this is what makes the magic happen when it hits the butter.
- Unsalted butter (1/2 cup, cold and sliced thin): Those thin pats are crucial; they melt into the cake mix and create pockets of richness that bake into golden crumbles and caramelized edges.
Tired of Takeout? 🥡
Get 10 meals you can make faster than delivery arrives. Seriously.
One email. No spam. Unsubscribe anytime.
Instructions
- Heat your oven and prepare the dish:
- Preheat to 350°F and lightly grease your 9x13-inch baking dish with butter or cooking spray. This takes the guesswork out of whether things will stick.
- Layer the fruit:
- Spread the pie filling evenly across the bottom of your dish—don't worry about being perfect, just get it in there. The filling will bubble up around the edges as everything bakes, which is exactly what you want.
- The dry cake mix moment:
- Sprinkle the entire box of dry cake mix over the fruit layer in an even blanket. This feels wrong at first, I know, but resist the urge to mix or add liquid—the dry mix is supposed to stay dry right now.
- Butter arrangement:
- Slice your cold butter into thin pats and arrange them all over the cake mix, spacing them so they cover as much surface as you can manage. Don't stress if there are small gaps; the butter will spread as it melts.
- Into the oven:
- Bake for 40 to 45 minutes until the top is golden brown and you can see fruit bubbling at the edges. The kitchen will smell incredible, and that's your signal it's almost ready.
- Cool and serve:
- Let it rest for a few minutes so it firms up just slightly, then serve it warm with whipped cream or vanilla ice cream if you're feeling generous.
 Save
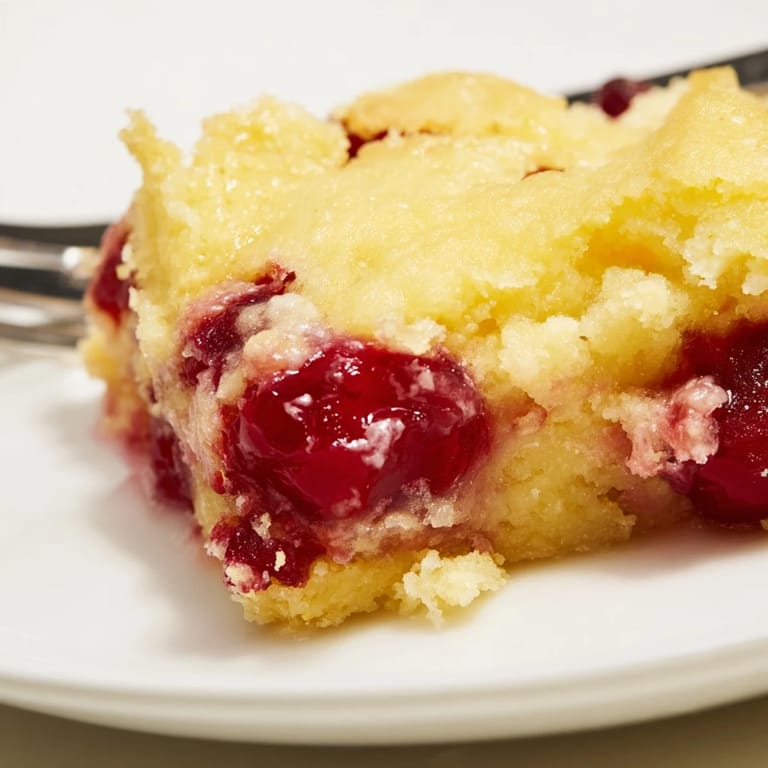
Save There's something almost meditative about watching this bake, knowing that barely any effort on your part created something that tastes like you've been in the kitchen all day. My kids now request it by name, which feels like the highest compliment a simple recipe can receive.
Why This Works Every Single Time
Dump cake works because it's built on a principle that few desserts follow: respect what you're starting with. The pie filling is already flavored and sweet, the cake mix already contains everything it needs to become cake—your only job is to assemble them and let the oven finish the conversation. There's no room for the recipe to fail you because there's almost nothing that can go wrong.
Flavor Combinations Worth Trying
Once you make this once, you'll want to play. Cherry with yellow cake is the standard, but try chocolate cake mix with blueberry filling for something richer, or spice cake with apple filling when the weather turns cool. I've even done white cake with peach filling in the summer, and it felt like a completely different dessert even though the method never changed. The beauty is that you're not reinventing anything—you're just mixing and matching flavors you already trust.
Storage and Make Ahead Tips
This dessert is best eaten the day you make it while the topping is still crispy and the fruit warm, but it keeps covered in the refrigerator for up to three days if you need it to. I've also assembled the whole thing in the baking dish the morning of, covered it with plastic wrap, and baked it in the evening with no problems at all. Just add a few extra minutes to the baking time if it's coming straight from cold, and you'll be fine.
- Leftovers are better warmed through gently in a low oven than in the microwave, which can make them soggy.
- Whipped cream melts quickly on warm cake, so add it just before serving unless you prefer it slightly melted into the fruit.
- This is one of those rare desserts that tastes just as good at room temperature if you forget about it for a while.
 Save
Save This recipe taught me that sometimes the best solutions come from working with what you have, not stressing about what you don't. Make it, share it, and watch people realize that simple really does mean delicious.
Questions & Answers
- → What type of pie filling works best?
Canned fruit pie fillings like cherry, apple, or blueberry create a flavorful base and maintain juiciness throughout baking.
- → Can I use any cake mix flavor?
Yellow or white cake mixes are traditional, but spice or chocolate mixes add unique twists to the layers.
- → Why is the butter sliced cold?
Cold slices on top ensure gradual melting during baking, helping develop a golden crust and rich texture.
- → How do I know when it's done baking?
Bake until the top is golden brown and the fruit filling bubbles at the edges, about 40-45 minutes.
- → Can I add toppings before baking?
Yes, sprinkling chopped nuts or shredded coconut adds crunch and flavor contrast to the soft layers.