 Save
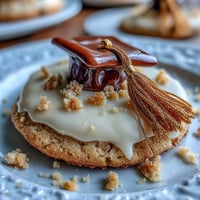
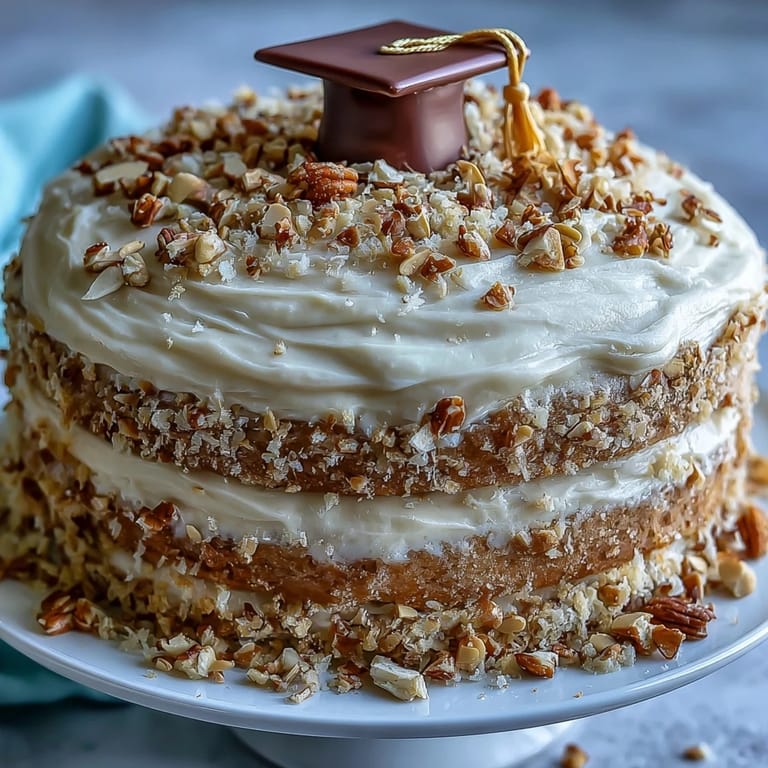
Save My daughter texted me a photo from school that morning—cap and gown ordered, graduation date circled on the calendar. By evening, I found myself standing in the kitchen with butter softening on the counter, thinking about how to mark this milestone with something more meaningful than a store-bought sheet cake. The answer came as I cracked eggs into a bowl: a cake worthy of the moment, dressed up with gold leaf and topped with a tiny diploma that said everything words couldn't quite capture.
I baked this cake the night before the party, letting the kitchen fill with that warm vanilla scent that somehow makes everything feel like an occasion. My son wandered in around nine, grabbed a warm cake layer from the cooling rack, and grinned—not because it was perfect, but because he knew exactly who it was for. That's when I realized this cake had already done its job.
Ingredients
- All-purpose flour (2 ½ cups): The foundation of a tender crumb; measuring by weight instead of volume keeps the cake from becoming dry or dense.
- Baking powder (2 ½ tsp): What lifts this cake into something fluffy and cloud-like, so don't skip it or reduce it.
- Salt (½ tsp): A pinch that wakes up the vanilla and balances the sweetness in ways you won't taste directly but will absolutely miss if it's gone.
- Unsalted butter (1 cup for cake, 1 ½ cups for frosting): Softened to room temperature, it creams into the sugar and creates that light, airy texture that makes the cake feel almost weightless on your tongue.
- Granulated sugar (2 cups): Beaten with butter until pale and fluffy, which takes about three to four minutes and is worth every second.
- Large eggs (4), room temperature: Room temperature eggs incorporate smoothly into the batter, creating a better emulsion than cold eggs ever could.
- Vanilla extract (1 tbsp): The soul of this cake; real vanilla makes a noticeable difference, so don't reach for the imitation if you can help it.
- Whole milk (1 cup), room temperature: Alternating with flour keeps the batter smooth and prevents overmixing, which would make the cake tough.
- Powdered sugar (5 cups for frosting): Sifted before mixing to eliminate lumps that can make frosting grainy and rough.
- Edible gold foil sheets: Handle these with completely dry hands or tweezers because even a hint of moisture makes them stick and tear.
- Diploma-shaped cake topper: You can buy these ready-made or craft one from fondant rolled thin and cut to shape, which feels more personal.
Tired of Takeout? 🥡
Get 10 meals you can make faster than delivery arrives. Seriously.
One email. No spam. Unsubscribe anytime.
Instructions
- Prepare your stage:
- Preheat the oven to 350°F and line two nine-inch round pans with parchment paper—this one small step prevents that frustrating moment when you run a spatula under the cake and it sticks. Greasing the pans too makes sure nothing surprises you.
- Mix the dry ingredients:
- Whisk flour, baking powder, and salt together in a medium bowl, making sure the baking powder is distributed evenly throughout. This prevents little pockets of unrisen cake and keeps your texture consistent.
- Cream butter and sugar:
- Beat them together on medium-high speed for three to four minutes until the mixture is pale, fluffy, and noticeably lighter than when you started. This step is where the cake's tender crumb begins to form, so don't rush it.
- Add eggs thoughtfully:
- Drop in one egg at a time, beating well after each addition before the next egg goes in. This helps each egg emulsify properly into the mixture instead of just sitting there as a slippery glob.
- Stir in vanilla:
- Once all eggs are in, add the vanilla extract and mix until you can't see streaks of it anymore.
- Alternate wet and dry:
- Start with a third of the flour mixture, mix it in gently, then add half the milk, then another third of flour, then the remaining milk, then the last of the flour, ending with flour. This method prevents overmixing, which is the enemy of tender cake.
- Divide and smooth:
- Pour batter evenly into both pans and smooth the tops with an offset spatula so they bake evenly. Uneven tops can lead to doming, which makes leveling the cake trickier later.
- Bake with patience:
- Bake for twenty-eight to thirty-two minutes, checking with a toothpick around the twenty-eight-minute mark; when it comes out clean or with just a few crumbs, you're done. The kitchen will smell incredible, and that's when the hardest part begins—waiting to frost it.
- Cool properly:
- Leave cakes in the pans for ten minutes to set up, then turn them out onto cooling racks. Rushing this step can cause the cake to crack or collapse.
- Make the frosting:
- Beat softened butter on high speed for about three minutes until it's creamy and pale, then gradually add sifted powdered sugar, vanilla, salt, and milk as needed until you reach a smooth, spreadable consistency. The gradual approach prevents powdered sugar from flying everywhere.
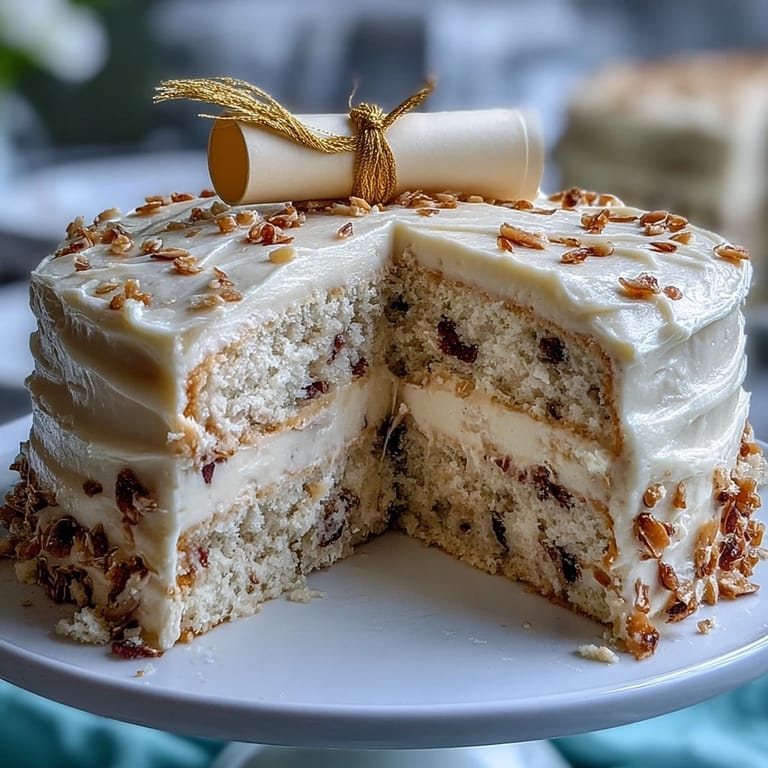
- Level and layer:
- If your cakes domed slightly, trim the tops flat with a serrated knife so layers stack evenly. Place one layer on your serving plate, spread a generous layer of buttercream on top, then crown it with the second layer.
- Apply the crumb coat:
- Spread a thin layer of frosting around the entire cake—this seals in crumbs so your final frosting looks pristine. Chill for thirty minutes.
- Frost with confidence:
- Once chilled, apply the remaining frosting in smooth, even strokes using an offset spatula, working your way around the cake. Take your time here; this is what people see.
- Apply the gold:
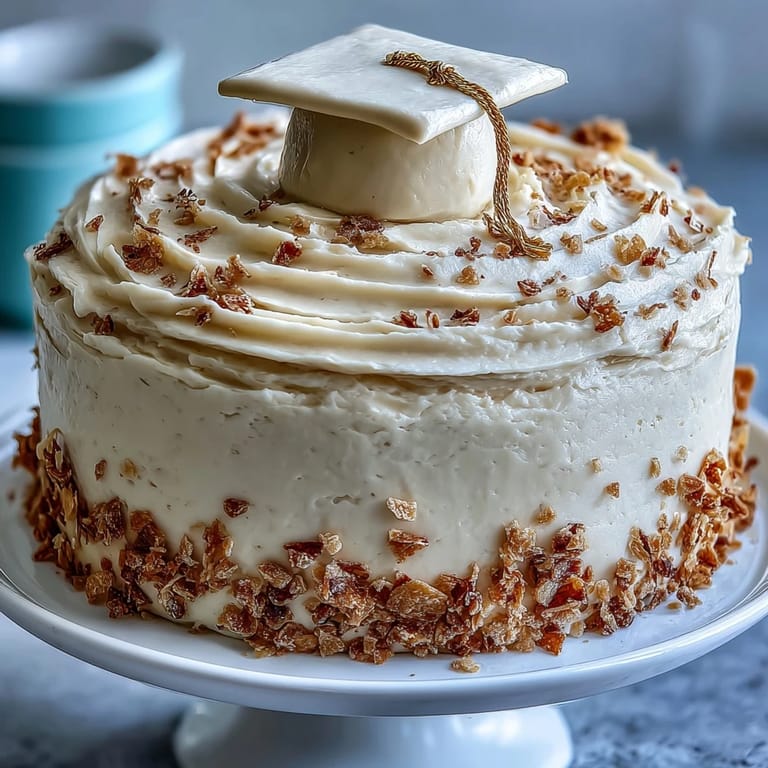
- Using tweezers, carefully place edible gold foil sheets on the cake in clusters or scattered patterns, wherever feels right for the celebration. The delicate foil catches light beautifully and adds that touch of elegance.
- Crown with the diploma:
- Place the diploma topper at the center or slightly off to one side, add any sprinkles or confetti if you're using them, and step back to admire your work.
- Final chill and serve:
- Refrigerate briefly to set everything, then bring to room temperature before serving for the best flavor and texture.
 Save
Save Watching my daughter's face when she saw the cake—the way her eyes went wide at the gold, the way she laughed at the little fondant diploma—I understood why people mark milestones with food. It wasn't about perfection; it was about the care baked into every layer.
Why This Cake Works for Celebrations
Vanilla cake feels classic because it is; it doesn't overshadow or compete with the moment, it supports it. The buttercream is rich enough to feel luxurious but not so heavy that people can't enjoy a full slice. This balance makes it the perfect canvas for whatever story you're telling with decorations and toppings.
The Gold Foil Magic
I'll be honest—the first time I worked with edible gold foil, I expected disaster. Instead, I discovered that the fragility is part of its charm; each sheet that catches the light becomes a small moment of beauty. You don't need to cover the whole cake; scattered pieces create an elegant look that feels intentional rather than overdone.
Making This Cake Your Own
The vanilla sponge is sturdy enough to support whatever flavors or colors speak to the person you're celebrating. Some years you might tint the frosting to school colors, another year you might add almond extract to the cake batter for depth, and that flexibility is part of why this recipe has become my go-to for milestones.
- Mix in one teaspoon of almond extract with the vanilla for a subtly more complex flavor that people notice but can't quite name.
- Use gel food coloring in the buttercream to match school colors without adding extra moisture that would thin the frosting.
- Make the diploma topper from scratch by rolling fondant thin, cutting it to shape, and adding details with edible markers for something completely personal.
 Save
Save This cake has become my way of saying, without words, that someone's achievement matters enough to spend an afternoon in the kitchen. That's worth every carefully placed piece of gold leaf.
Questions & Answers
- → What ingredients create the cake's texture?
Using all-purpose flour, baking powder, unsalted butter, eggs, and milk achieves a moist, tender crumb and balanced rise.
- → How do I apply edible gold foil without damage?
Handle gold foil with dry hands or tweezers carefully to avoid tearing and place it gently onto the frosting surface.
- → Can I customize the buttercream color?
Yes, gel food coloring can be mixed into the buttercream to match desired themes or school colors.
- → What is the best way to ensure even cake layers?
Level cooled cakes with a serrated knife or cake leveler before frosting to create smooth, even layers.
- → How should the cake be stored before serving?
After assembly, chill the cake to set the frosting, then bring to room temperature before serving for optimal taste and texture.