 Save
Save My dad kept a jar of peanut butter in his office desk, and every afternoon around three o'clock, he'd sneak a spoonful between meetings. One day I found him with a homemade peanut butter cookie, and he admitted he'd stopped by the bakery down the street specifically for them. I decided that afternoon I'd learn to make them myself, and somehow they turned out better than the bakery's—probably because they were still warm when we bit into them.
I brought these to a book club meeting once, and they disappeared faster than we could settle into discussing the first chapter. Someone asked if I'd ordered them from somewhere, and I remember feeling this small proud moment realizing I'd created something that tasted like it came from an actual bakery.
Ingredients
- All-purpose flour: This is your structural foundation—don't skip sifting or whisking it with the dry ingredients, otherwise you'll end up with dense, cake-like cookies instead of tender ones.
- Creamy peanut butter: Use the kind that's just peanuts and salt, not the overly sweetened versions, because the cookies have plenty of sugar already.
- Unsalted butter: You're already adding salt to the dough, so salted butter will throw off the balance.
- Baking soda and baking powder: These work together to give you that slight rise and tender crumb—don't confuse them or skip either one.
- Granulated sugar and brown sugar: The blend of both creates cookies that are moist and complex, not just sweet.
- Large egg: This binds everything together and adds moisture, so use room temperature if possible for better mixing.
- Vanilla extract: A splash of pure vanilla makes all the difference in how rounded the peanut flavor tastes.
Tired of Takeout? 🥡
Get 10 meals you can make faster than delivery arrives. Seriously.
One email. No spam. Unsubscribe anytime.
Instructions
- Get your oven ready and prep your workspace:
- Preheat to 350°F and line your baking sheets with parchment paper so nothing sticks and cleanup is easier. This takes just five minutes but saves you from cookie disasters.
- Combine the dry ingredients:
- Whisk together the flour, baking soda, baking powder, and salt in a medium bowl. This keeps everything evenly distributed throughout the dough.
- Cream the butter and sugars:
- Beat the softened butter, peanut butter, granulated sugar, and brown sugar for about two minutes until it looks pale and fluffy. You're incorporating air into the mixture, which makes the cookies lighter.
- Add the egg and vanilla:
- Mix the egg and vanilla into the creamed mixture until everything is well combined and looks smooth.
- Bring the dough together:
- Gradually fold in the dry ingredients just until everything is incorporated—don't overmix or your cookies will toughen up as they bake. The dough should look slightly crumbly before you stop.
- Shape and score:
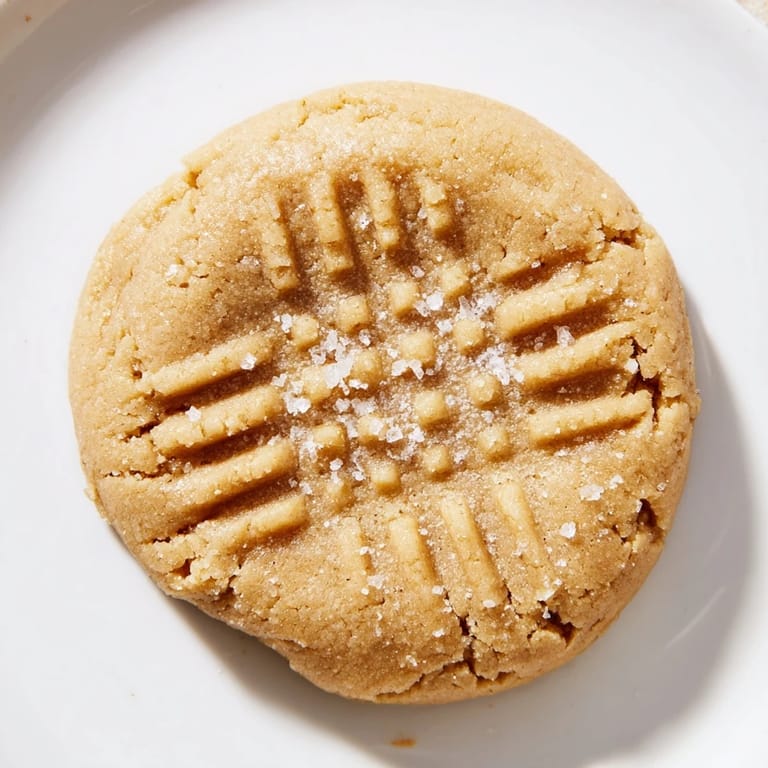
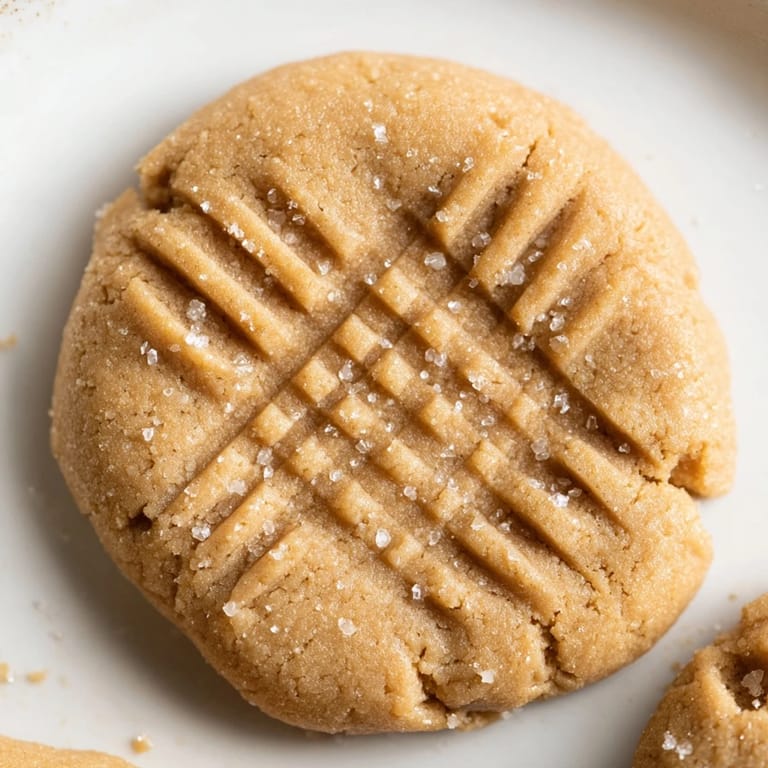
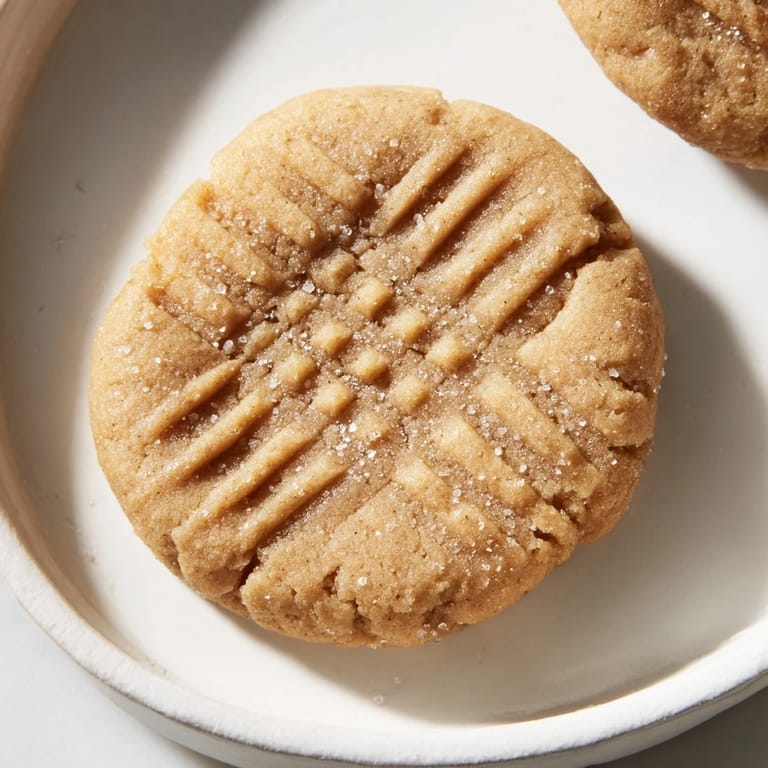
- Scoop about a tablespoon of dough for each cookie, roll into balls, and optionally coat them in sugar for a subtle sparkle. Place them two inches apart on your baking sheets and use a fork to press down twice in a crosshatch pattern—this is what gives them that signature look.
- Bake until the edges set:
- Bake for ten to twelve minutes, watching until the edges turn light golden but the centers still look slightly underdone. They'll continue cooking on the pan after you pull them out.
- Cool with patience:
- Leave them on the baking sheet for five minutes so they finish setting, then transfer to a wire rack. This prevents the bottoms from getting soggy.
 Save
Save These cookies remind me of sitting at my grandmother's kitchen table on lazy Saturday mornings, dunking them into coffee while she told stories. They became the thing I made whenever someone needed comfort or celebration, and I realized that's when food stops being just food—it becomes a small gesture of care.
The Texture Question
The magic of these cookies lives in that chewy center with slight firmness at the edges. I've learned that brown sugar is your secret weapon here because it holds onto moisture longer than white sugar does, and the combination of both creates this perfect balance between tenderness and structure.
Making Them Your Own
Once you master the basic version, you've got options. I've added everything from chocolate chips to crushed candy to a swirl of jam in the center, and the dough handles all of it well.
Storing and Serving
These cookies stay soft for days in an airtight container, which honestly means they're perfect for meal prep or bringing somewhere. A room temperature cookie with a cold glass of milk is honestly one of life's underrated pleasures.
- Store them in an airtight container at room temperature for up to four days and they'll stay chewy.
- Freeze the dough balls for up to three months, then bake straight from frozen—just add an extra minute or two.
- These are best eaten the same day they're baked, but they're still delicious on day two.
 Save
Save These peanut butter cookies have been my answer to almost every occasion—from potlucks to apologies to just wanting something warm and comforting. Once you make them, you'll find yourself reaching for this recipe again and again.
Questions & Answers
- → How do I achieve the classic crosshatch pattern?
Use a fork to press down the dough balls twice in perpendicular directions before baking to create the signature crisscross marks.
- → Can I use crunchy peanut butter instead of creamy?
Yes, chunky peanut butter adds extra texture and nut pieces throughout the cookies for a delightful crunch.
- → What is the best baking time for softer cookies?
Bake for about 10-12 minutes until edges turn lightly golden but centers remain soft for that perfect chewy texture.
- → Can I add mix-ins like chocolate chips or nuts?
Absolutely, incorporating chocolate chips or chopped peanuts enhances flavor and adds variety to each bite.
- → Is it necessary to chill the dough before baking?
Chilling is optional; baking fresh dough yields soft cookies, but chilling can help prevent spreading and improve texture.
- → What alternatives exist for the granulated sugar coating?
Rolling dough in light brown sugar or cinnamon sugar can offer a different flavor profile and slight crispness.