 Save
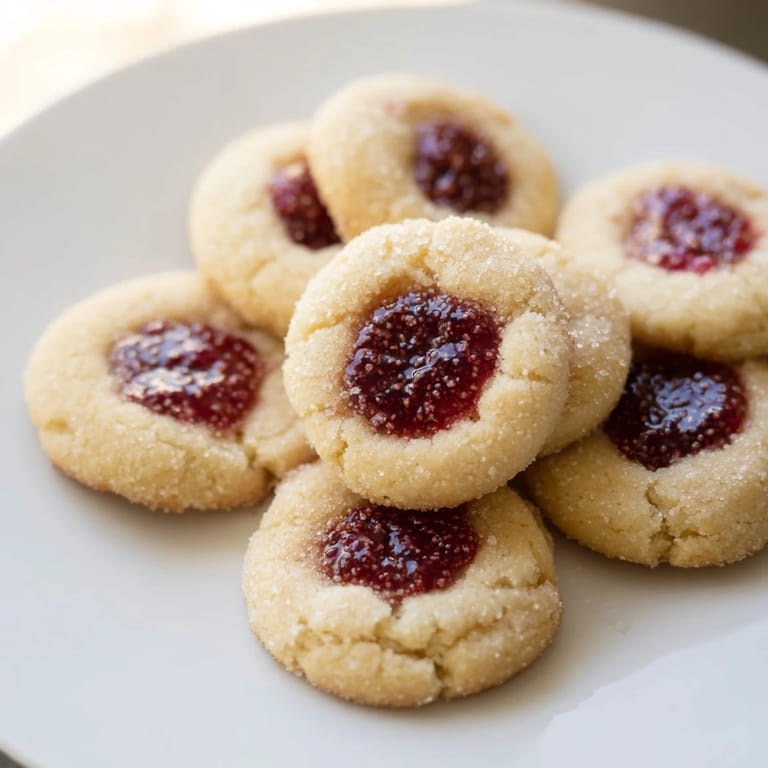
Save My grandmother kept a jar of raspberry jam on her kitchen shelf that seemed to never empty, and one afternoon when I was home from college, she pulled out a tin of these buttery shortbread cookies with perfect little jam jewels pressed into their centers. She told me they were foolproof, and watching her make them—the way she'd thumb each indent with such casual confidence—I realized she wasn't exaggerating. Now these cookies are my answer whenever someone asks what to bring to a gathering, because they're simple enough to make while chatting on the phone, yet they always look like you spent hours fussing over them.
I remember my friend texted me at 3 PM asking if I could bring dessert to dinner at seven, and I didn't panic because I knew these lived in my back pocket. The dough came together in under ten minutes, and while my kid watched YouTube videos, I was already cooling cookies on the rack. When we arrived at dinner, someone asked the recipe before they'd even finished their first bite, and I loved being able to say it was something I'd made, not something I'd stressed over.
Ingredients
- Unsalted butter, softened: The foundation of everything tender here—make sure it's actually soft to the touch, not cold or melted, so it creams properly with the sugar.
- Granulated sugar: This creates the structure and sweetness; don't substitute brown sugar unless you want a different flavor and texture entirely.
- Egg yolks: Just the yolks make these richer and more delicate than whole eggs would.
- Vanilla extract: A small amount that whispers rather than shouts, keeping focus on the butter and jam.
- All-purpose flour: Measure by weight if you can, or spoon and level—scooping directly from the bag packs it too tight.
- Fine sea salt: A pinch that you almost can't taste but that makes everything else taste more like itself.
- Fruit jam or preserves: Choose a flavor you actually want to eat by the spoonful, because that's basically what you're getting in every bite.
Tired of Takeout? 🥡
Get 10 meals you can make faster than delivery arrives. Seriously.
One email. No spam. Unsubscribe anytime.
Instructions
- Set your stage:
- Preheat the oven to 350°F and line two baking sheets with parchment paper—this keeps you from scrambling later and gives you space to work without crowding.
- Cream the butter and sugar:
- Beat them together until the mixture looks pale and fluffy, about two to three minutes, because this air helps the cookies stay tender. You should be able to rub a tiny bit between your fingers and feel how smooth and light it's become.
- Add the egg yolks and vanilla:
- Mix until everything is fully combined and the yolks have disappeared into the butter—this takes about one minute. The mixture might look a little broken or separated, and that's completely fine.
- Bring in the flour and salt:
- Stir just until you see no white streaks of flour anymore; the moment everything comes together, stop mixing. Overmixing tightens the dough and makes the cookies tougher, which is the opposite of what you want.
- Shape into balls:
- Scoop the dough with a tablespoon or small cookie scoop and roll each piece between your palms into a one-inch ball, then set them two inches apart on the baking sheets. If the dough feels too soft or sticky, chill it for fifteen minutes first.
- Make the thumbprints:
- Press your thumb gently into the center of each ball, or use the back of a small spoon if you prefer a more uniform look—the indent should be shallow enough that the cookie can still hold the jam. Don't press all the way through to the pan.
- Fill with jam:
- Add about half a teaspoon of jam to each indent, leaving just a tiny bit of space so it doesn't overflow during baking. If your jam is chunky, a smooth preserves might spread more evenly.
- Bake until golden:
- Bake for twelve to fifteen minutes, watching for the edges to turn a pale golden color—the centers should still look slightly underbaked. They'll firm up as they cool, and this is what keeps them tender rather than crisp.
- Cool and transfer:
- Leave them on the baking sheet for five minutes so they firm up enough to move without breaking, then transfer to a wire rack to cool completely. This prevents them from steaming themselves into softness on the warm pan.
 Save
Save There was a moment at my daughter's school bake sale when a little boy came back to the table and asked his mom to buy another one because the jam in the middle surprised him—he expected the whole cookie to be the same and loved that little burst of sweetness. That's when I realized these aren't just cookies; they're small gifts of texture and flavor that make people smile twice.
Variations to Keep Things Interesting
Once you've made these once, you'll start seeing jam flavors everywhere and want to try them all. I've done apricot for a brunch with older friends, blackberry for a dinner party, and even a lemon curd filling that nobody expected but everyone asked about. The dough stays exactly the same—it's just a blank canvas for whatever flavor you're craving that week, which honestly is part of why I love making them so much.
Storage and Make-Ahead Tips
The dough can be made a day ahead and kept wrapped tightly in the fridge, and the baked cookies live happily in an airtight container for up to a week, though they rarely last that long around my house. I've also frozen the baked cookies successfully for up to two months, which means you can make a double batch on a lazy Sunday and have something ready to grab whenever you need a small gift or a last-minute dessert.
Small Details That Make the Difference
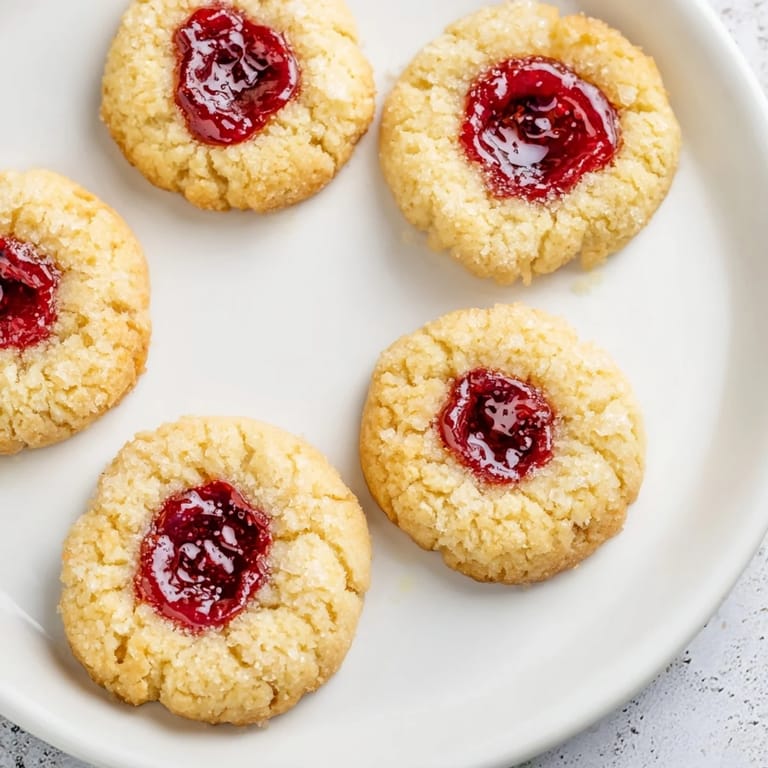
The things that seem tiny—like rolling the dough balls uniform in size so they bake evenly, or leaving the jam filling slightly proud of the dough so it catches the light when you look at the finished cookie—are what separate these from feeling homemade in a rushed way versus homemade in a thoughtful way. Even when you're making them quickly, these little touches take almost no extra time and completely change how people perceive what you've made.
- If you want to dress them up further, roll the raw dough balls in finely chopped nuts, sprinkles, or coconut before pressing in the thumbprint.
- A tiny pinch of lemon zest mixed into the dough adds brightness that makes the jam taste even more vibrant.
- Bake a test cookie first if you're using a new oven, so you know exactly how golden you need to go for the texture you prefer.
 Save
Save These cookies have become my go-to recipe for moments when I want to give someone something homemade without it taking over my whole day. They're proof that simple, made-with-care food is often exactly what people need.
Questions & Answers
- → How do I achieve a tender crumb in these cookies?
Creaming the butter and sugar until fluffy creates air pockets that help develop a light texture. Using egg yolks adds richness, contributing to a tender bite.
- → What types of jams work best for the filling?
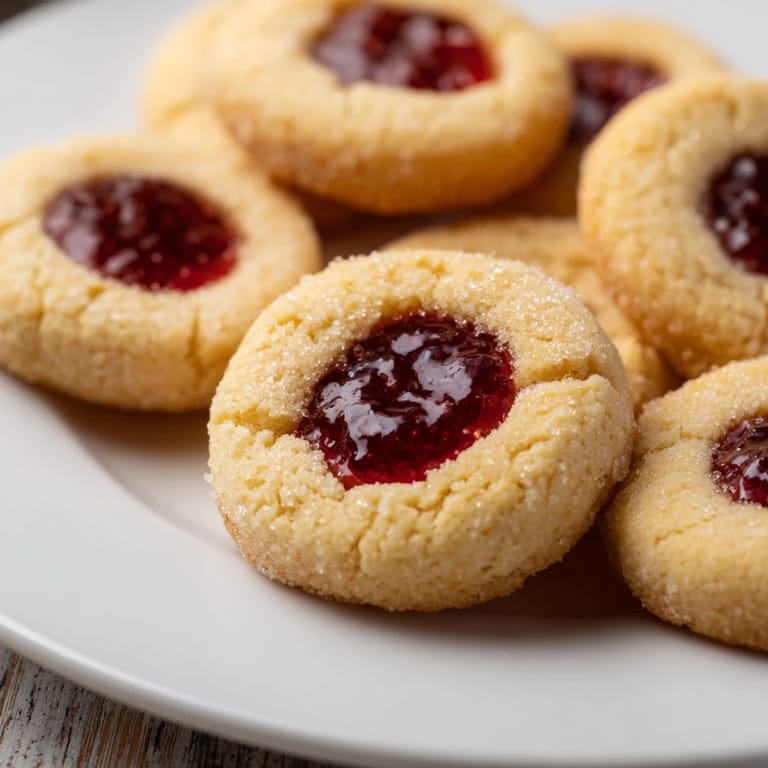
Fruit preserves like raspberry, apricot, and strawberry complement the buttery dough well. Choose jams with a smooth consistency to fill the indentations without spilling.
- → Can I add nuts for extra flavor?
Yes, rolling the dough balls in finely chopped nuts before baking adds a crunchy contrast and enhances flavor complexity.
- → How should I store these cookies to maintain freshness?
Store in an airtight container at room temperature for up to one week to keep their texture and flavor intact.
- → What is the ideal baking temperature and time?
Baking at 350°F (175°C) for 12–15 minutes ensures the edges turn golden while keeping the centers soft and tender.